Introduction :
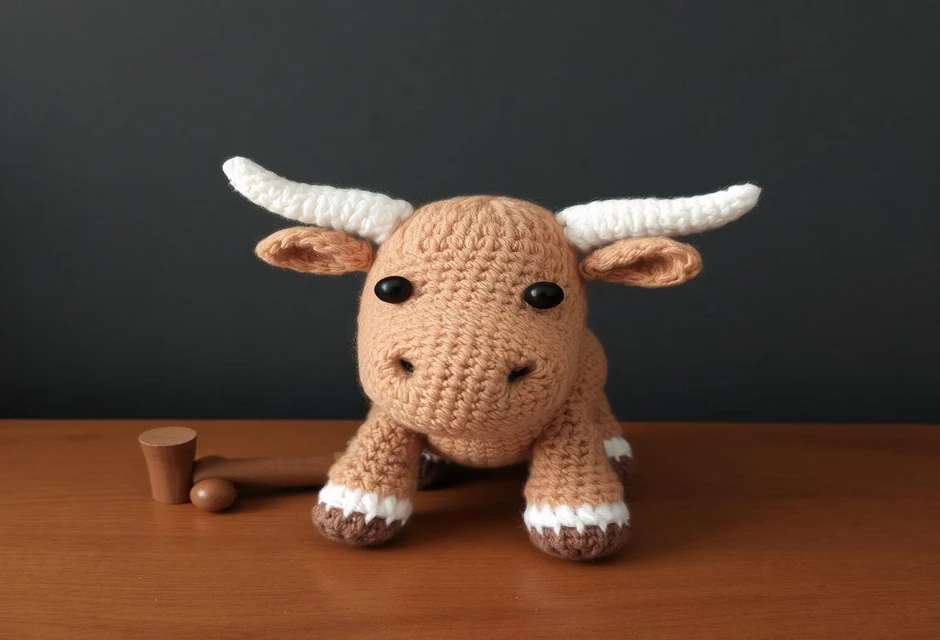
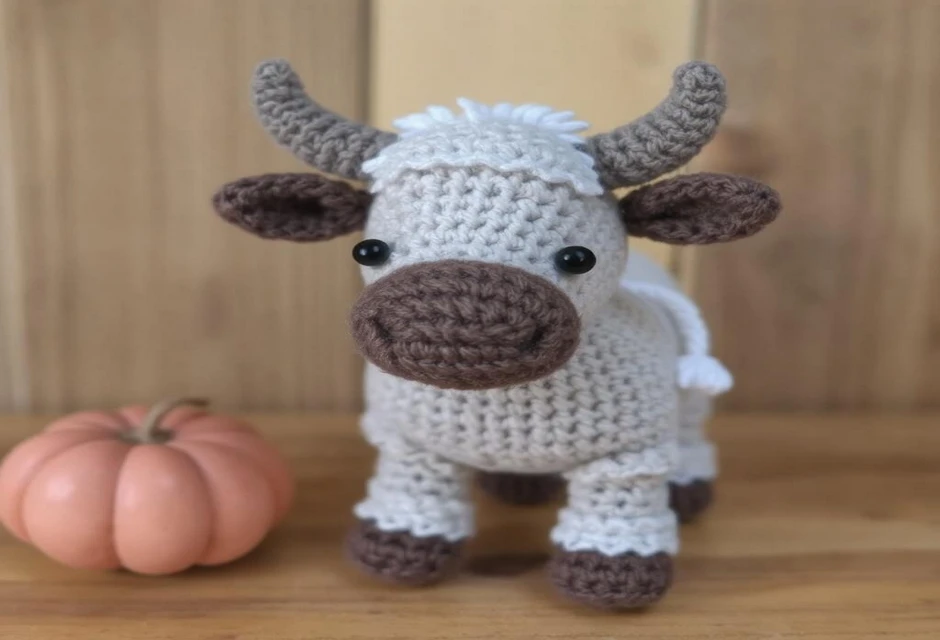
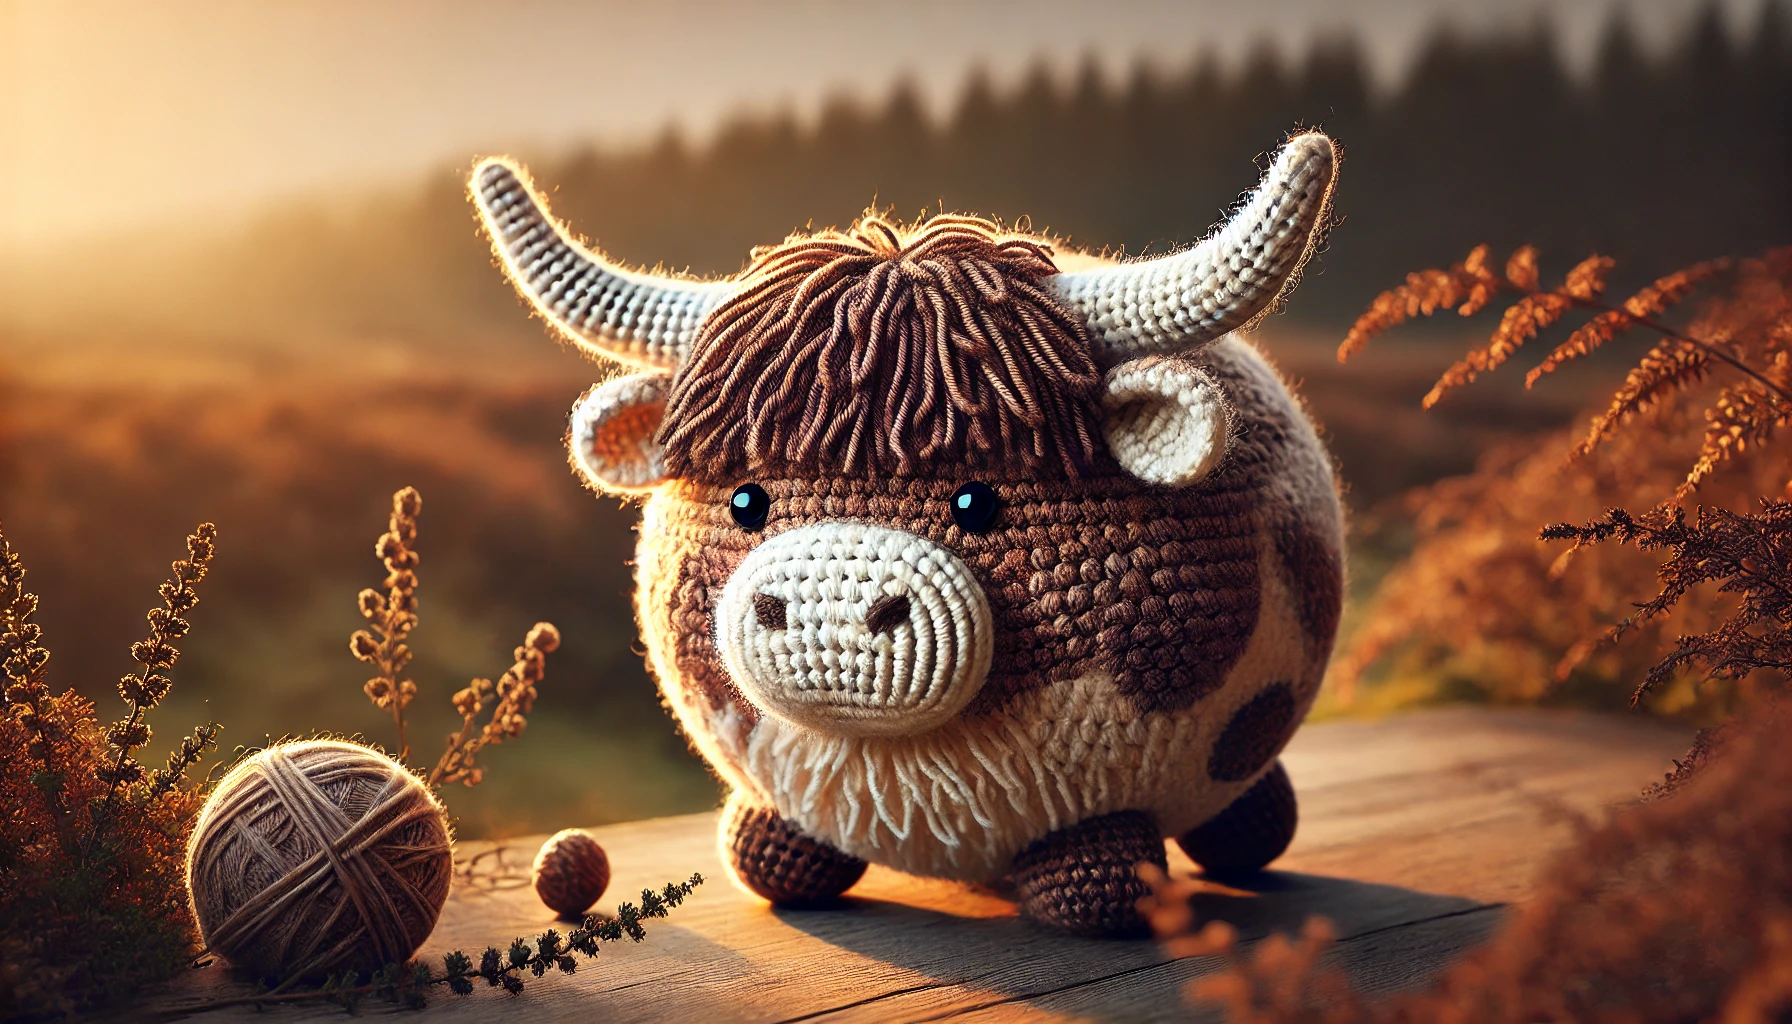
Highland cows are a beautiful project in crochet for both beginners as well as seasoned crocheters. These projects allow you to add warmth and personality to your handmade collection so their use can be for gifts, home decoration as well as keepsakes. Grab this guide to crochet your own Highland cow with details on steps to follow, needed material, and tips for successful creations.
Materials Required :
Before you take steps towards making a Highland cow crochet, gather the following materials:
Yarn: Use any shade of brown or beige or any color you would like for the body of the cow and color of choice for any feature.
Hook: Choose any hook suitable for your yarn usage: normally between 3.5mm to 5mm.
Stuffing: Use polyester fiberfill for a fluffy look.
Tapestry needle: To attach parts together and weave ends.
Safety Eyes: Optional: for making nice facial expressions.
Scissors: Cutting yarn.
Stitch Markers: Marks on rounds you make.

Step-by-Step Directions :
1. Start with the body :
The body of the Highland cow is typically worked in continuous rounds:
Magic Circle: With a magic circle, crochet 6 single crochets (SC) into the loop.
Increase Rounds: Work 2 SC in each stitch around to form a flat circle. Continue increasing according to the pattern until desired size for the body.
Straighten the body: Work even SC rounds to make the height of the body.
Decrease Rounds: Gradually reduce the stitches to close the bottom leaving a small hole for stuffing.
Stuff the Body: Fill the stuffing into the body and seal the opening very carefully.
2. You make the Head :
The head is made just like the body:
Magic Circle: Begin with 6 SC in a magic circle.
Increase Rounds: Increase evenly through the circle to widen.
Shape the Head: Crochet evenly to the height of head.
Sewn-on safety eyes, then embroider the mouth and nose before stuffing.
Fill and close: body-part closures and fill it up through the opening.
3.Add the legs and tail :
Legs: Work four cylindrical shapes in sc in rounds, then stuff lightly and attach to the body.
Tail: Make thin chain and tuft at the end using fringe or pom-pom techniques.
4.Horns and ears :
Horns: Crochet little tapered pieces that are going to make up the famous Highland cow horns.
Ears: Crochet two little oval shapes and sew them onto the head.
5.The Fringe and other details :
Fringe: The shaggy, Highland cow signature will be created with simple yarn strands being looped and attached to the head.
Details: Blush will be added or , embroidery to the cow’s personal touch.
Tips for Success :
Use Stitch Markers: Track your rounds to make your work symmetrical.
Change Yarn Weight: Lighter or heavier yarn according to smaller or bigger cows.
Custom Color Combinations: Go wild with colors for making a unique design.
Take Breaks: Don’t strain your hands by spending an entire day doing fancy work.
Creative Uses :

Toys: Cuddle with crocheted Highland cows for children.
Decor: Use them for decorations in shelves or as a central arrangement on the table.
Gifts: The personalized, handmade Highland cows give very thoughtful gifts.
While you use all your skills to harness your creativity and think up new designs, crocheting a Highland cow is a very rewarding project indeed. Through this guide, you can create something really special and sweet to capture the magic of these famous animals. So gather your materials and follow along as we figure out how to crochet your very own Highland cow!

