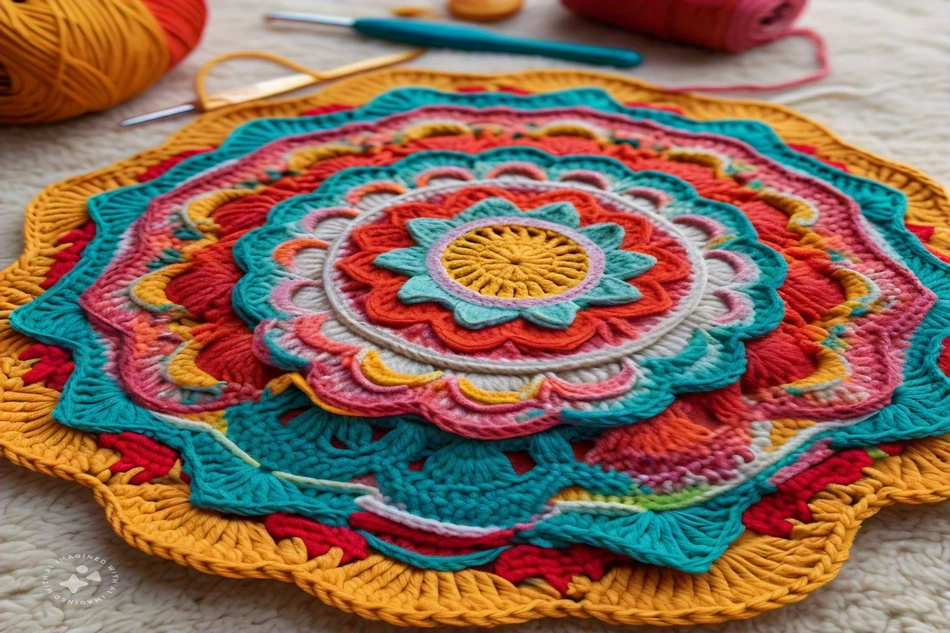
Magic circle or magic ring is a very important technique for crocheters. It provides an adjustable gapless centers in circular works such as amigurumi, coasters, hats, etc. So, follow this tutorial step by step to learn the magic circle.
Why learn the magic circle crochet technique?
Invisible Beginning: The hole that often remains in traditional starting chains is avoided.
Versatile Use: It might be applied for making mandalas, granny squares, and toys.
Professional Finish: It adds a nice finish to your crochet.

Magic Circle Step-wise Guide:
1. Create the Loop :
Hold the yarn tail in your hand.
Wrap the working yarn around your fingers to form a loop. Cross the yarn to make an overlap.
Insert the Hook :
Under the first strand of the loop slides the crochet hook.
Hook the working yarn through the loop: “3.”
Secure the Loop :
Yarn over and pull through the loop on your hook to create a chain. This secures the circle.
Crochet Stitches :
Work the required number of stitches into the magic circle. For example, Single crochet commonly used in amigurumi patterns.
Close the Circle :
Tug on the yarn end to tighten the knot, close the central hole.

Tips to Perfecting the Magic Circle :
Exercise Tension: Let loose enough to work comfortably into the stitches.
Use Light Yarn: Easier to see the loop and the stitches with lighter colored yarn.
Reinforce the Loop: Yanking the tail end of yarn tight will solidify the circle once the first round is done.
Magic circle crochet will let you create refined, pro-looking creations. Once you complete this tutorial, there will be a massive shift in your abilities and the patterns that you can now tackle. Get to work right away and make your circular creations amazing!

