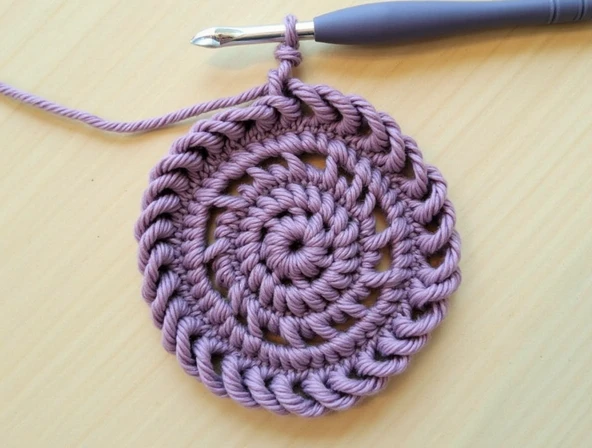
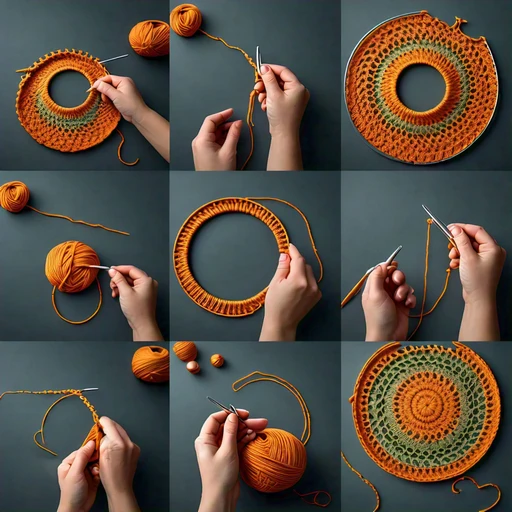
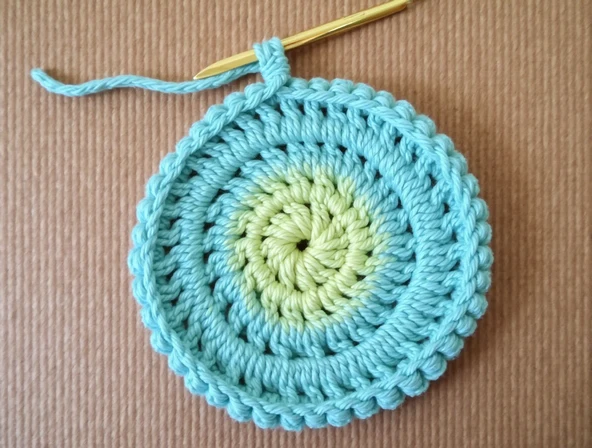
The magic circle is one technique in crochet that one must know in order to create seamless projects in a circular way using it as amigurumi, coasters, or hats. It tends not to start with chains, but instead it offers adjustability and a gap-free center where your design may be applied.
What is a Magic Circle in Crochet?
A magic circle, or magic loop, is used as an adjustable loop for the start of crochet rounds. This way one pulls the starting ring so tight as to leave no hole at the center of the work.

How to Make a Magic Circle in Crochet ?
1. Make the Loop :
Hold the end of the yarn in your hand.
Wrap the working yarn around your fingers, making a loop lying over itself.
2. Insert the Hook :
Slide your crochet hook under the first strand of that loop.
Catch the working yarn with your hook and pull it through that loop.
3. Make the ‘Lock’ :
Yarn over and pull through the loop on your hook to make a chain.
This chain locks the magic circle.
4. Work Stitches into the Ring :
Crochet the required stitches into the magic circle-for example, single crochet for an amigurumi pattern.
5. Close the Circle :
Then pull the tail end of the yarn slightly to fully close the loop.

Why Use a Magic Circle in Crochet?
Gap-Free Center: Ideal for projects in which a smooth start is required.
Adjustable Size: Easy tightening of the loop for a neat close.
Highly versatile: Good for many circular projects, such as doilies, hats, and toys.
Learning how to master the magic circle in crochet really makes an improvement in the fineness of your circular creations. Practice this trick to make any crochet project professional!


