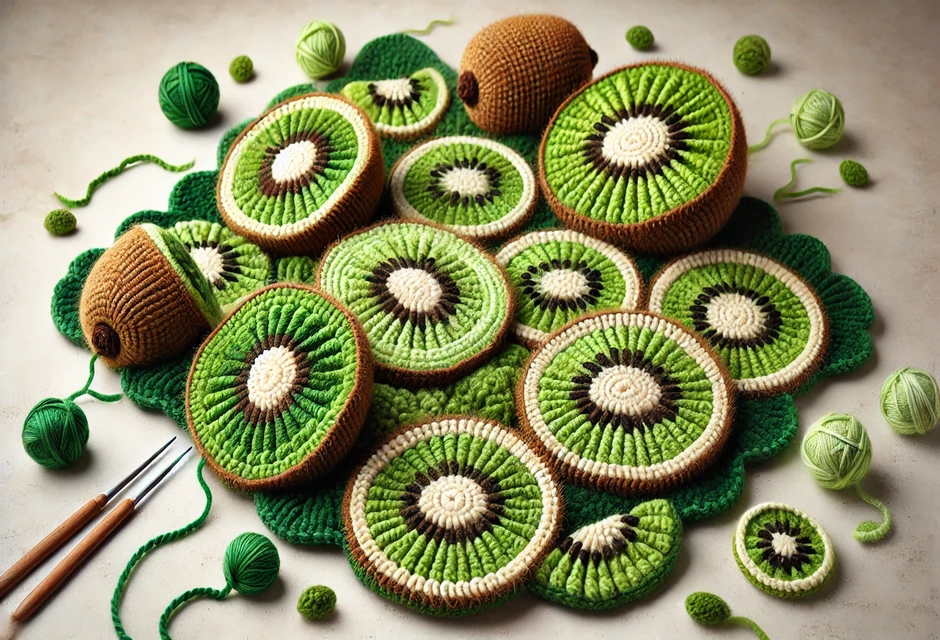
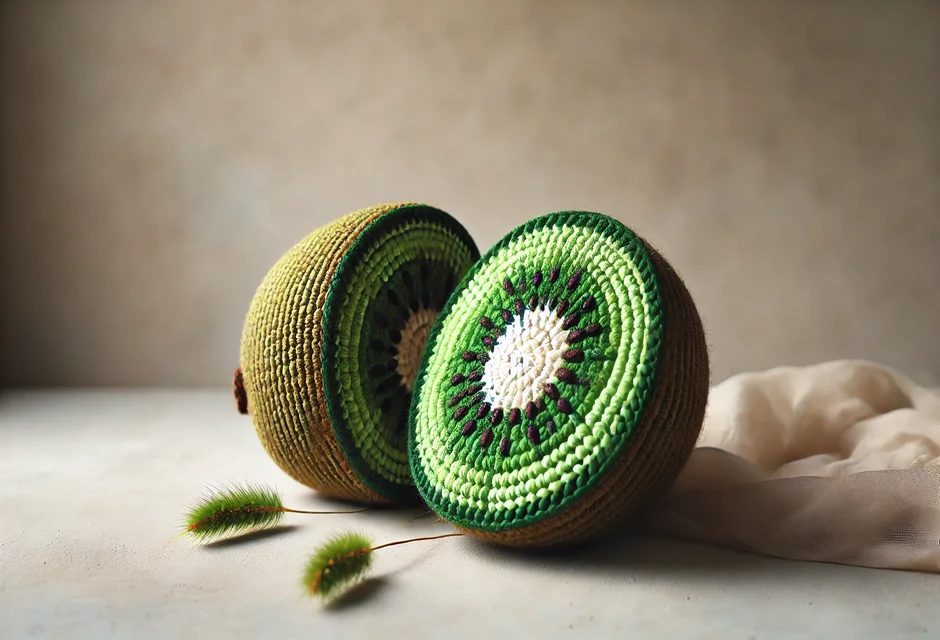
Learn to Make a Realistic Kiwi in Crochet :
Crochet being close to nature, it conveys an aura of coolness to your craft creations. Fruits and dry fruits innocently shine as amigurumi patterns, kitchen stuff, or keychains. Follow along with this guide to crochet kiwi.
Why choose kiwi crochet?
Uniqueness: Once again, an aesthetic and lively look to your projects.
Uses: Wonderful for home decorating, toy making, or gift crafting.
For All: A very easy yet interesting project be-touched beginners through pros.
What You Need :
Here is what you will need to crochet a kiwi.
Yarn: Green, brown, and white-colored yarn (cotton or acrylic).
Hook: You can use Size G/4mm crochet hook or as per yarn recommendation.
Stuff: Polyester fiberfill will be suitable for shaping.
Scissors: To cut the ends off the yarn.
Yarn Needle: Use this to weave in ends and add details.

How-to Step by Step :
1. Center the Kiwi :
Create a magic ring with six single crochet stitches using green yarn. Increase under one direction in a spiral until you’ve got a flat circle. To form a core, add a few rounds of white yarn.
2. Add the Kiwi Flesh :
Using green yarn, continue crocheting, evenly increasing until it reaches the desired size. Thread a yarn needle with black thread to make small “seeds” by sewing spaced out little dots.
3. Make the Kiwi Skin :
Go with the brown yarn and crochet in rounds without increasing to make the outer skin. It should curve a little just to encase the green section.
4. Building the Kiwi :
Pack the kiwi sparsely with fiberfill to have that plump and true-to-life shape. Closure will then be done by weaving in ends and pulling tight.
Tricks on the Advanced Level for Realistic Kiwi Crochet :
Try Different Kinds of Texture :
In knitting the brown skin, use fuzzy or boucle yarn for better texture effects. Variegated green yarn may also produce an effect for the flesh in a gradient.
Personalizing Slices:
Stitch together two halves to make half-sliced kiwis.
Incorporate them in bigger things such as fruit baskets or themed blankets.

Avoid Common Mistakes :
Overstuffing: This leads to a misshapen kiwi.With just the necessary amount of fiberfill, the result is a smooth finish.
Uneven Stitches: Better-maintained tension for polishing a look. Skipping Stitch Markers: It avoids round miscounts with the help of stitch markers.
Crocheting a kiwi is an enjoyable, satisfying task for crafters of all skill levels. These steps can be followed when creating that special fun decoration or charming gift to ensure your kiwi will always look beautiful and realistic. Get your creative juices flowing and enjoy the crafting process bringing this fruity design to live!

